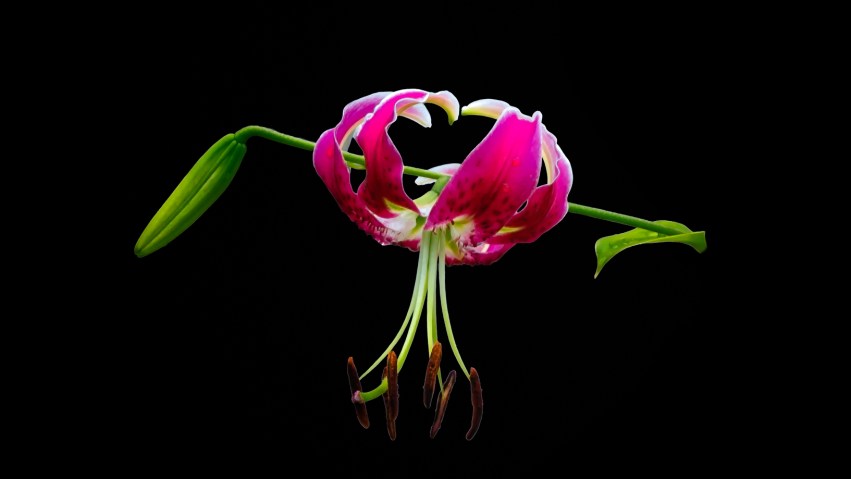
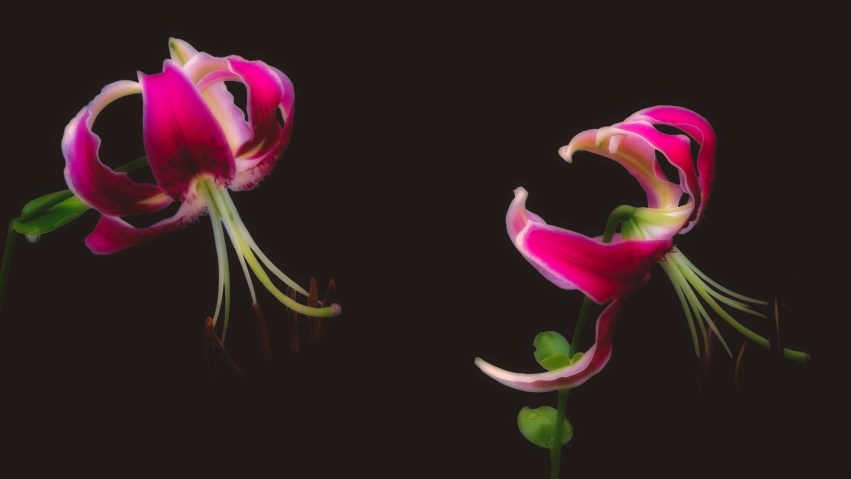
From “Lily” in Flowers in History by Peter Coats:
“In [John] Gerard’s time (1545-1612) lilies were certainly widely cultivated in many gardens; the most popular variety being the Madonna, L. candidum (its descriptive name was given it by Virgil), a native plant of southern Europe. This is said to have been first grown in England in 1596, though it must have been known by sight from Italian paintings many years before that. In 1596, William Shakespeare would have been thirty-two, at the height of his powers. In that year he was engaged in writing Romeo and Juliet, and the first sight of a Madonna lily must have been inspiration indeed to someone who loved and felt for plants as Shakespeare did….
“Or it may have been the martagon — the Turk’s Cap lily — which Shakespeare saw when he was a boy in Warwickshire, as there is a theory that the martagon, alone among lilies, is indigenous to England, as it is to northern Spain, Italy and Asia Minor.
“Until the last century, there were only a few types of lily cultivated in Western gardens and it is remarkable in the annals of the flower that the appearance of new varieties in Western gardens always coincides with the discovery and development of distant and little-known parts of the world.”
From “The Lady of the Flowers” in Acadian Ballads and Lyrics in Many Moods by Arthur Wentworth Hamilton Eaton:
Up and down the garden walks
Every day I watch her go,
Past great clumps of nodding stalks
Crowned with blushing crimson roses,
Or with lilies, white as snow.
Lilacs dashing on the air
Persian odors, in delight
Bend and almost touch her hair;
On the bough where he reposes
Sings the oriole with his might….
Easter lilies crave the touch
Of her carmine-tinted lips —
Finer flowers by far than such
As bedeck the fields immortal,
Whose soft fragrance Juno sips.
Down a pink-plumed peony row
Into purple iris lanes,
Onward still I see her go,
To a Turk’s-cap-lilied portal,
Where perpetual coolness reigns….
Hello!
This is the second of two posts with photographs of Turk’s Cap Lilies (Lilium martagon) from Oakland Cemetery’s gardens. The first post is Turk’s Cap Lilies (1 of 2), where I described the physical location in the gardens where these lilies grow.
It’s been a little over six years (six years!) since I published one of my earliest posts about learning to use Lightroom’s features, covering the software’s spot removal tool. In that post — Before and After: Red Brick with Ivy — I described using the tool to remove white spots from a simple photograph of a red brick wall framed with ivy. Then, after gaining more experience, I posted another example — Before and After: Bernadine Clematis, An Illusion — where I explained how I had learned to use it to not only remove spots, but repair damaged sections of flower petals and accurately blend their colors and textures. In both posts, I noted how time-consuming it could be to remove spots and heal blemishes, but that the work was often worth it because it noticeably improved the photos.
This kind of image cleanup has remained part of my workflow for all my images. Most of my photographs are closeups or macros of flowers and plants, taken out in the wild, where all manner of smudgies attach themselves to my subjects. Clumps of pollen, dust and debris, cobwebs, and photobombing spiders, ants, and other bugs are the most common distractors — so I use my first post-processing pass through every batch of photos to eliminate them.
These spot removal tools work like this: you use the mouse to select or brush over a spot, then release the mouse button, and Lightroom attempts to replace the spot you selected with something else from the image. What you selected is called the target, and the replacement Lightroom chose is called the source. Its choice of source, however, has always been hit-or-miss. With photos of flowers where even the smallest sections contain many different textures and colors, it would often fail to choose a source that matched in color or blended textures properly. This meant that I often had to manually reposition the source, or go over it multiple times until Lightroom provided a satisfactory match. Imagine — using some of these photographs as an example — that the raised parallel lines running down the center of individual flower petals were broken at several points after removing bugs from them — and you can visualize what happens when Lightroom selects a source improperly.
Then, in May of this year, Adobe released an enhancement to the spot removal tools called Generative Remove, which uses the AI capabilities from Adobe Firefly (see Irises on Black / Notes On Experiences (1 of 2) and Irises on Black / Notes On Experiences (2 of 2) where I wrote about Firefly) to help with the removal of unwanted objects from photographs. With this enhancement, the target-source approach I just described (and the frustration of using it) no longer applies. Instead — when you select something to remove from the image — Lightroom blends elements of your photo with what it interprets would have been behind or would have surrounded the spot you selected, if the spot hadn’t been there to begin with. Amazing, yes? Let’s look at a couple of examples!
Here are two photographs from this Turk’s Cap series, as they looked when I took them…


… where I didn’t like the mass of stems and leaves on the left side of each photo. Very distracting! In the olden days of six months ago, I would have probably just cropped them out and been content with a larger view of the flower. In neither case would I have been successful changing the image with the original spot removal tools — since for each element you try to remove, you have to manually choose something from the photo to replace it with.
With Generative Remove, however, a new kind of sorcery presents itself. Imagine now using the mouse to brush over the entire left quarter of each of these images and letting the Remove tool do its work. When I did that, here’s where I ended up…


… and here’s what’s happened. In the first photo, Lightroom has removed the stems, leaves, and flowers from the image — and filled the space by extending the stone behind the plants (which was actually there, in real life, how did it know?), and matched the stone’s textures and colors. In the second one, it has done something similar: it has removed the mass of stems and leaves behind the flower, and has created a blended background that matches the area nearby. It also adjusted the stems and leaves of the (now single-stemmed) flower, with new leaves.
While I would normally try to avoid composing pictures so changes like this would be necessary — by shifting my shooting position or zooming in closer — I framed these two like this just to see what I could do with Generative Remove. Here you can compare the images before and after I used Generative Remove by clicking on the first image and paging through.


But wait! There’s more! And this may be my favorite discovery….
Consider again this image of the spotty brick wall, that I mentioned above. With Generative Remove, I no longer have to select each individual spot and double-check that Lightroom chose an acceptable replacement before moving to the next one. Instead I can select all of the white spots one after the other (fastly!), press a single “Apply” button and go play ball with The Dog for a couple of minutes. When I return, Lightroom will have removed all the spots (I’ve tried as many as sixty) in one pass — and, in most cases, without making any mistakes matching colors and textures.
How sweet is that!?!
Thanks for reading and taking a look!


